Battery Tutorial
Recovery Charge After Deep Discharge Tutorial
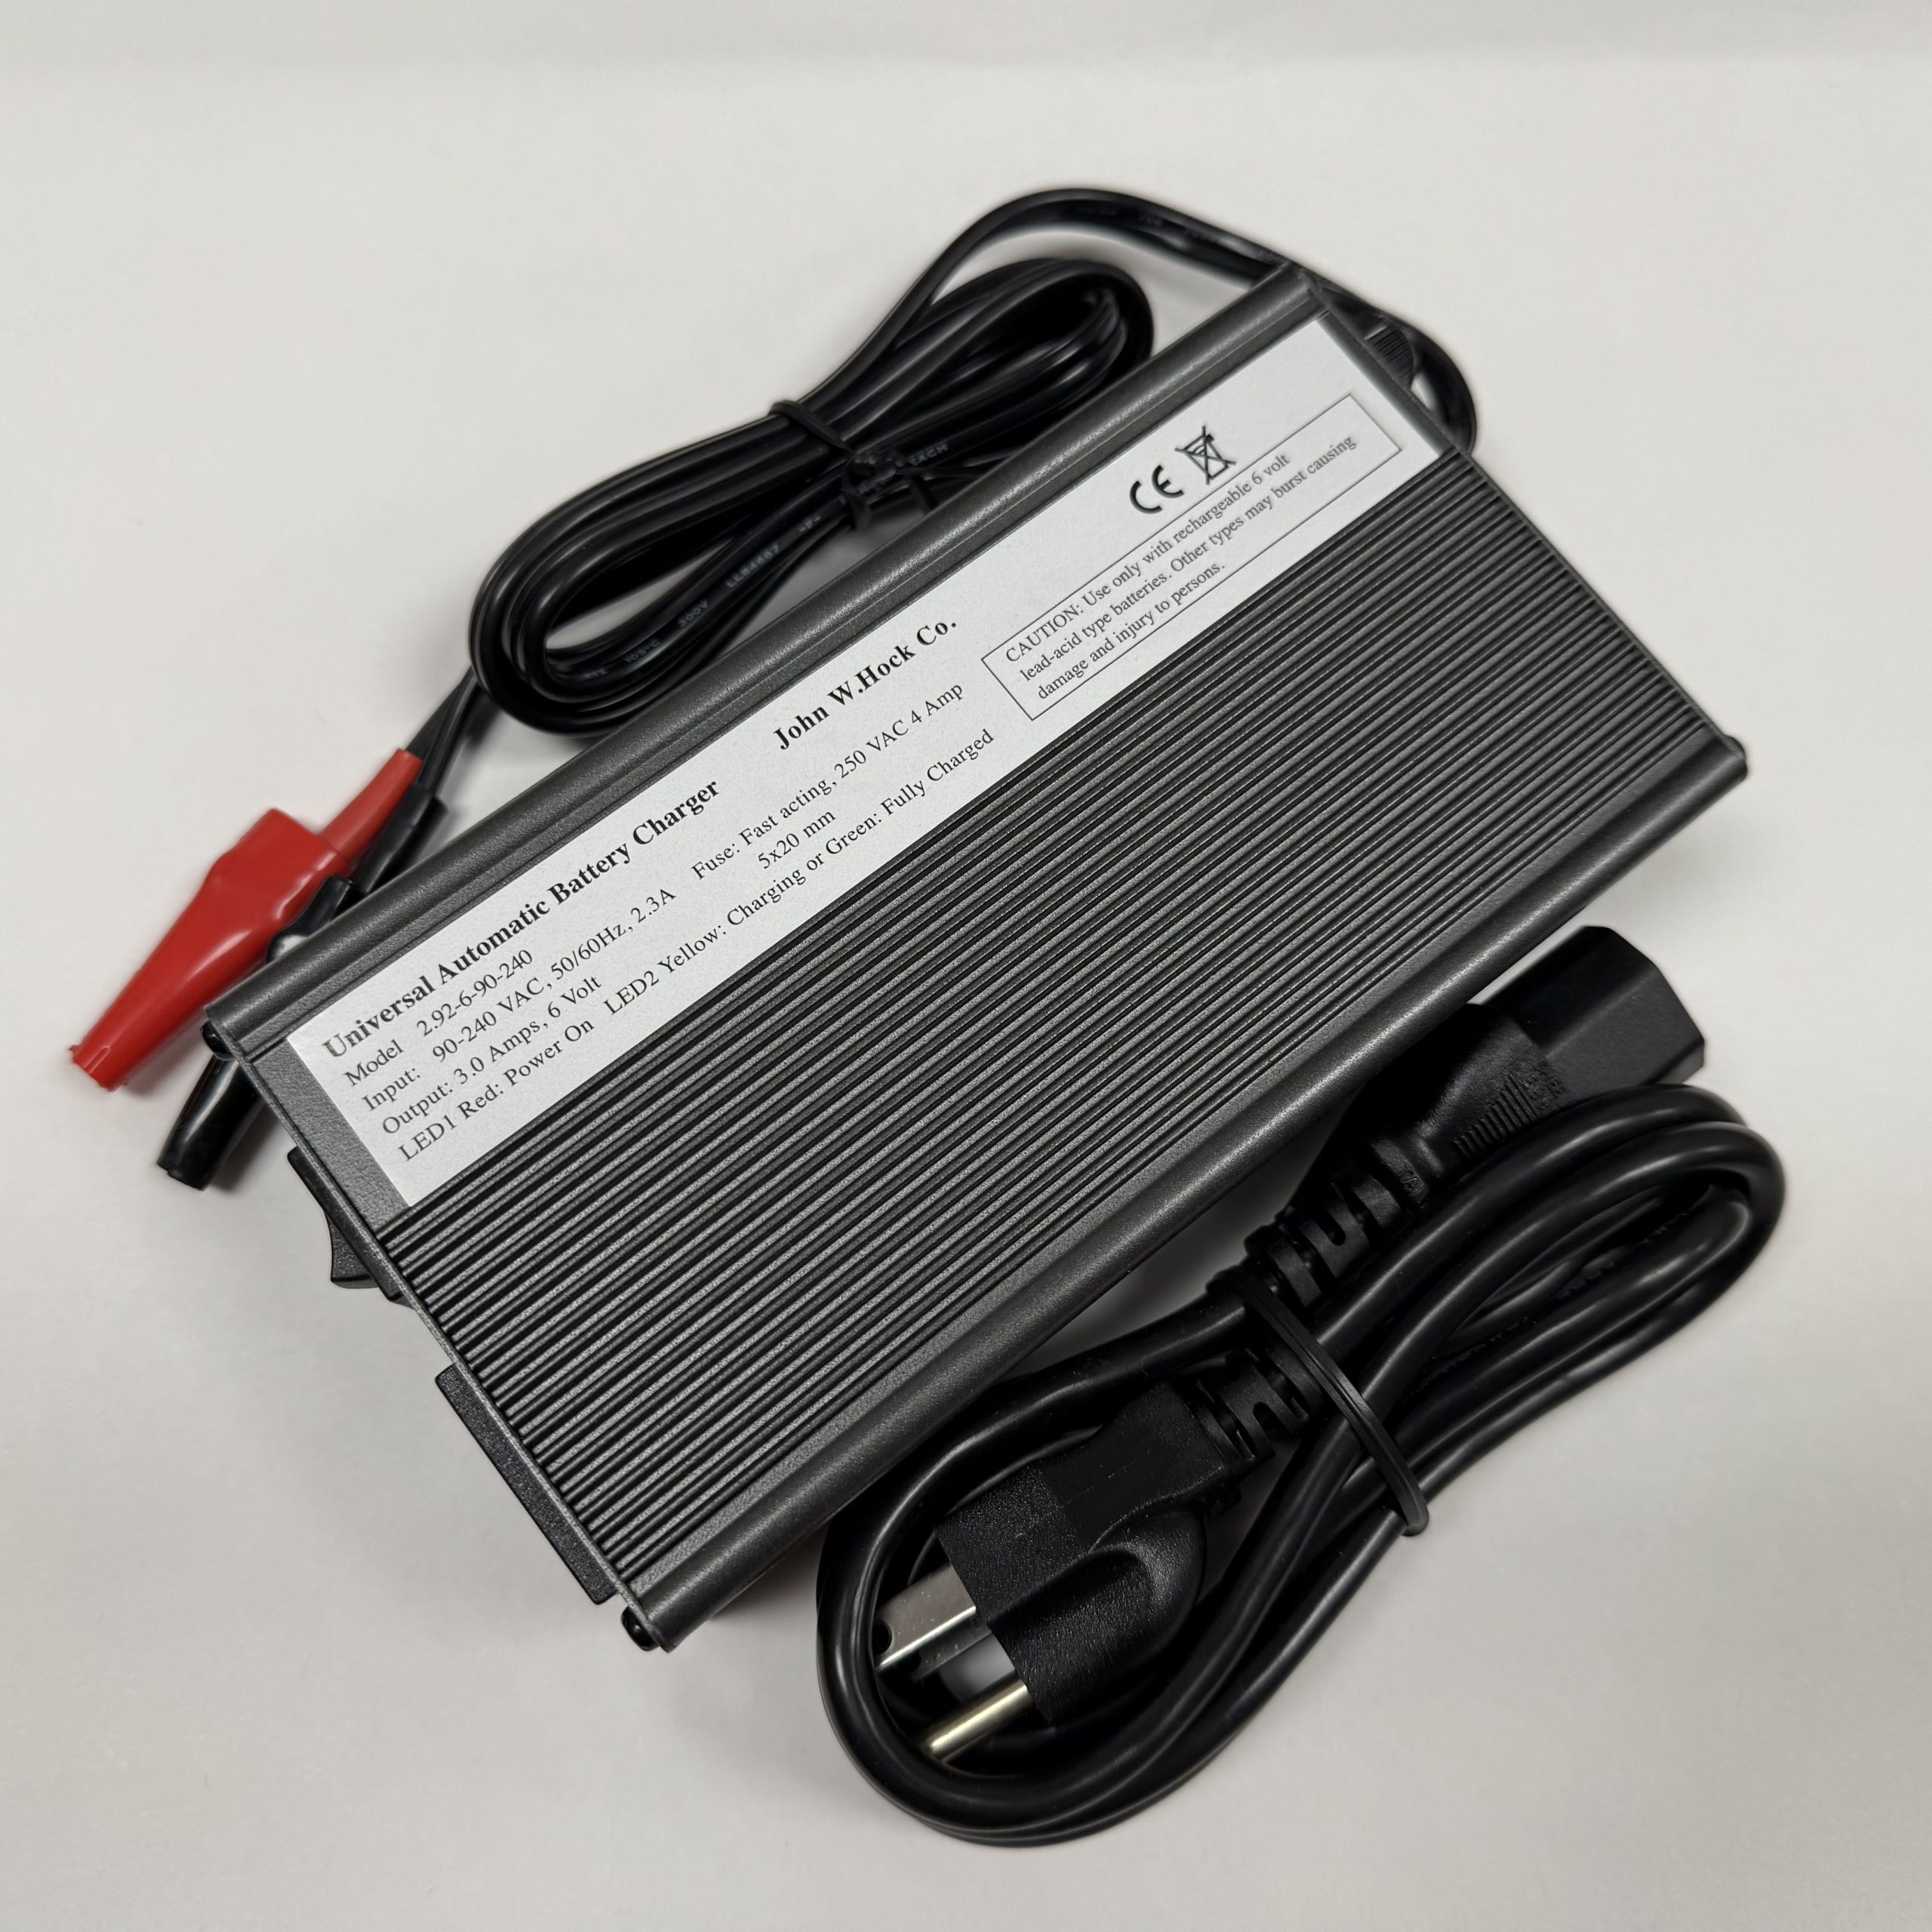
Model 7.30 Automatic charger for one 6 Volt battery
Battery Chargers
We supply four chargers that are very easy to use. All of the units have an internal computer-on-a-chip that makes possible the exact performance required for lead-acid batteries, whether they are manually-filled, sealed electrolyte, or gel-cells. There are no switches to set. All battery chargers are fully regulated and automatic; continuously shorting the battery leads will not harm the chargers. The process goes through the 5 stages of charging described below.
Caution: CARE SHOULD BE EXERCISED WHEN CHARGING A DEPLETED BATTERY. These chargers will become HOT, not just warm, and should not be touched until after the GREEN (see below) light comes on. The case can cause burns if not handled properly.
1. Connecting the charger- The sequence of connections is very important for the charger’s computer operation. First, connect the color-coded leads to the battery. Then, plug the charger into the AC outlet. If you mistakenly connect the battery backwards (negative to positive) or short the charger leads together, no damage or sparks occur—only a RED light comes on to indicate the possible mistake.
2. Initial – When the charger (already connected to the battery) is initially plugged in, the unit’s computer sends intermittently, a small ( Bias ) current into the battery and then monitors the battery’s response to determine its charge state. A RED light may come on briefly if the battery was excessively discharged, but it should go off within the first few minutes. (This phase of charging is not shown on the figure below.)
3. Bulk charge mode – When the charger determines that the battery can safely take a charge, it goes into the bulk mode where the full capacity of the charger is applied to the battery until it is 80% charged. In this mode, the YELLOW light come on.
4. Absorption charge mode- Once the battery is 80% charged, the computer within the charger tapers the current from 100% to 33% of charger capacity until the battery reaches full charge. The light will remain YELLOW during this phase.
5. Float charge- After full charge has been reached, a GREEN light comes on, indicating the battery is ready for use. The computer switched to the 4 th part of the cycle, that of a temperature compensated float charger. The unit is now in its maintenance mode, keeping the battery in its ideal charged state. Once the battery has reached this ideal state, all of our chargers maintain this condition without causing “boil-off “, heating, or permitting the battery’s lead plates to sulfate. This means you can leave your batteries connected to the charger overnight, over the weekend, or indefinitely, knowing that when you take them to the field, they are in the ideal state.

The black and white figure of charging characteristics above is for illustration. How long your batteries take to charge depends on which model is used and how depleted the battery was. The example shown above is for a 15 Amp-Hr battery that has been depleted 10 Amps being charged by a 1.5 Amp-Hr charger. The process will take about 12 hours.
Models of Battery Chargers
We supply the following chargers.
| PN | Battery voltage | Input voltage | Maximum charge rate | Location |
|---|---|---|---|---|
| 7.10 | 6 DC | 115 AC | 3 Amps/hour | For use in USA |
| 7.20 | 12 DC | 115 AC | 5 Amps/hour | For use in USA |
| 7.30 | 6 DC | 115 / 240 AC | 3 Amps/hour | Intended for sale/use outside USA |
| 7.40 | 12 DC | 115 / 240 AC | 5 Amps/hour | Intended for sale/use outside USA |
The Modified CDC Backpack Aspirator (Model 1412) , and the Improved Prokopack Aspirator (Model 1419) units come supplied with an appropriately-sized battery and charger. See product descriptions and instructions sheets for details.
Estimated Charging Times
The miniature incandescent traps such as the Model 512 or the Model 1012 consume about 0.25 Amps/hr when running. Total consumption for a 10-hour night of trapping would drawn down a battery about 2.5 Amps (i.e., 10 hrs * 0.25 Amps/hr = 2.5 Amps). These chargers would take about one hour to recharge such a battery. The blacklight traps consume about twice as much electricity per hour, therefore, associated charging times would be twice as long.
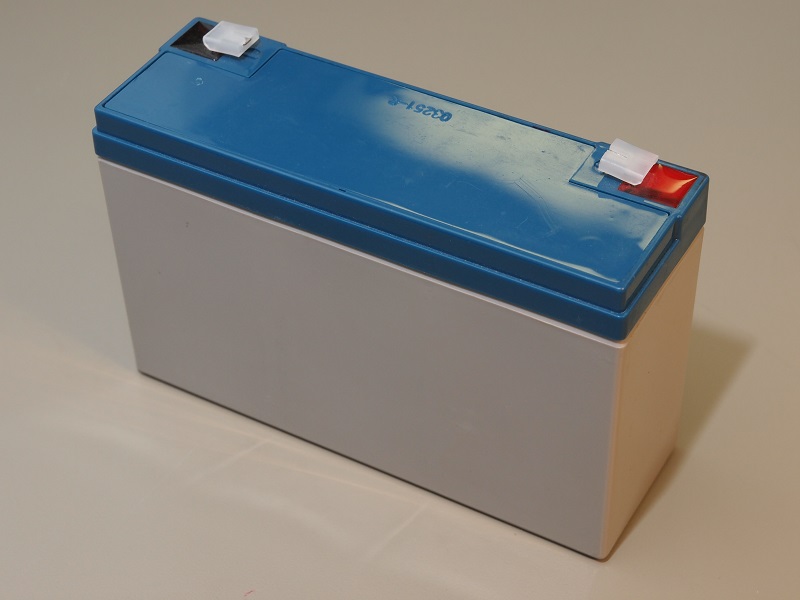
The Model 2.30 gelled-electrolyte 6 volt rechargeable battery.
Battery Types
- Lead-Acid Batteries: Our lead-acid batteries use a gelled-electrolyte in a sealed, high impact plastic case. The construction of these high power-to-weight batteries eliminates the need to ever water or worry about spilling acid. The units are completely rechargeable and weigh 4 and 8 lbs for the 6 and 12 VDC versions, respectively. The 6 V version is rated at 12 amp-hours and the 12 V version at 10 amp-hours. See our battery product page for additional battery sizes. Please contact us with questions regarding appropriate chargers, batteries, or charging techniques for your application.
- Disposable Batteries: For individuals desiring the convenience of disposable batteries, all of our 6 volt traps are available with a 4-D Cell Battery Holder (Model 1.50) that will hold 4 D-cells – enough capacity for 1 or 2 night’s operations, depending on trap and battery type.
- Solar-Powered Battery Chargers: Our solar-powered battery charger is auto-sensing and works with 6 and 12 VDC batteries. Solar Charger Model 2.55 comes complete with power cord, stand, and instructions. It is protected from reverse-polarity connection.